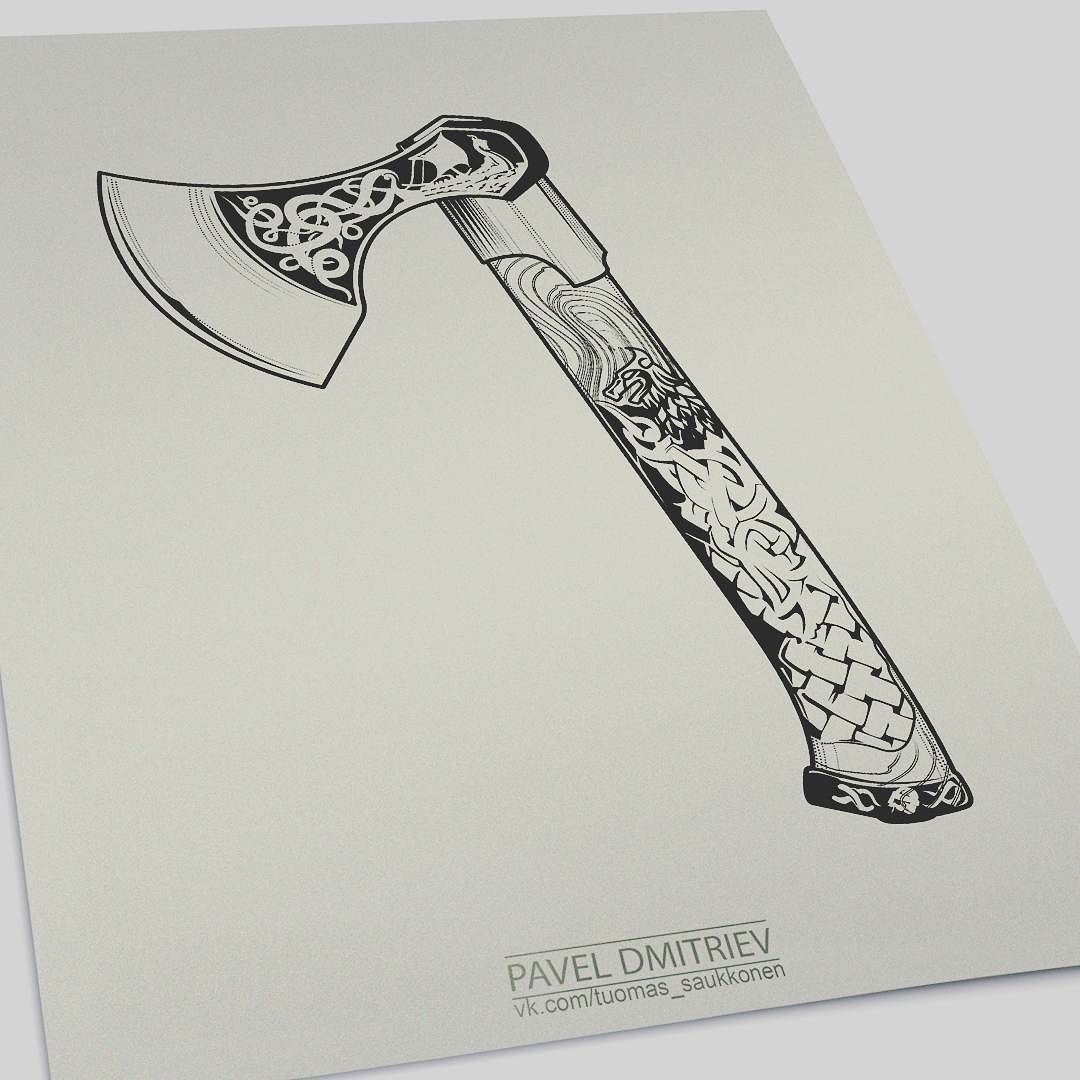
This guide traces the journey of the Viking Axe Drawing Small from a rough Norse draft to a tiny, finished artwork. By focusing on bold shapes, clean lines, and careful shading, you can transform a large Viking aesthetic into a compact, high-impact drawing.
Key Points
- Understand how a grand Norse design translates into a compact scale with proportional geometry.
- Choose simple lines and bold silhouettes to preserve recognizability in a small format.
- Apply light shading to suggest texture without clutter on a tiny surface.
- Experiment with wood tones and metallic highlights to evoke Viking-era tools.
- Practice quick sketches to build muscle memory for reliable mini drawings.
Materials and Tools
You’ll need a set of graphite pencils (HB to 6B), a fine liner, kneaded eraser, smooth drawing paper, and optional metallic gel pens or white ink for highlights. A ruler helps keep edges crisp, especially for the haft’s alignment. If you prefer digital, a vector approach can replicate clean lines while preserving the small scale of the piece.
Step-by-Step: Translating a Norse Draft into a Mini Masterpiece
Step 1: Start with a light pencil skeleton that captures the basic shape of a Viking axe—an elongated head with a sharp edge and a sturdy haft.
Step 2: Refine the silhouette to keep bold lines suitable for a small drawing, ensuring the axe is recognizable even at a tiny size.
For the Viking Axe Drawing Small, focus on the bold silhouette and clear edges to preserve recognition at a tiny scale.
Step 3: Add controlled shading on the head to imply metal and on the haft to suggest wood grain, using light cross-hatching and gentle gradients.
Step 4: Clean up with an eraser, then lock in the final lines with a fine pen or digital equivalent, preserving contrast.
Step 5: Apply a subtle highlight or metallic touch if your medium allows, and consider a simple background that complements the axe without overpowering it.
Design Tips for a Strong Mini Viking Axe
Keep the axe head as the focal point; reduce unnecessary decorative elements that can blur at small sizes. Use generous negative space around the head to enhance readability, and use a single light source to keep shading consistent across the piece.
Display and Care
Frame your mini masterpiece behind glass to protect it from smudges, and store spare drawing tools in a shallow box so your Viking-inspired piece stays pristine. If you used graphite, consider a light fixative to prevent fading over time.
What size qualifies as a ‘mini’ Viking axe drawing?
+A mini Viking axe drawing typically stays within the range of 2x3 inches to 6x6 inches, depending on the detail you want. Start small and scale up only if you need more room for texture or shading. The key is legibility: even at a tiny size, the axe should read as a Norse tool with a bold silhouette.
How do I keep details legible in a small Viking axe drawing?
+Limit fine lines, emphasize strong edges, and use value contrasts rather than intricate textures. A single directional shading pass can suggest metal and wood without overloading the tiny canvas. Mock up the composition at 50% size first to test readability.
Which materials work best for a Viking Axe Drawing Small?
+Pencil on smooth paper is reliable for control; ink pens provide clean, lasting lines; metallic pens or white gel ink can highlight the axe edge. For digital work, vector lines with a bold stroke mimic the strong silhouette of Norse design.
How can I capture authentic Norse aesthetics without overcomplicating the mini piece?
+Focus on iconic elements: the axe head’s curve, a straight or slightly tapered haft, and a strong contrast between metal and wood. Use minimal shading to imply texture and let the silhouette carry the Viking vibe. Reference Viking-age engravings for clean, bold lines rather than ornate detail.