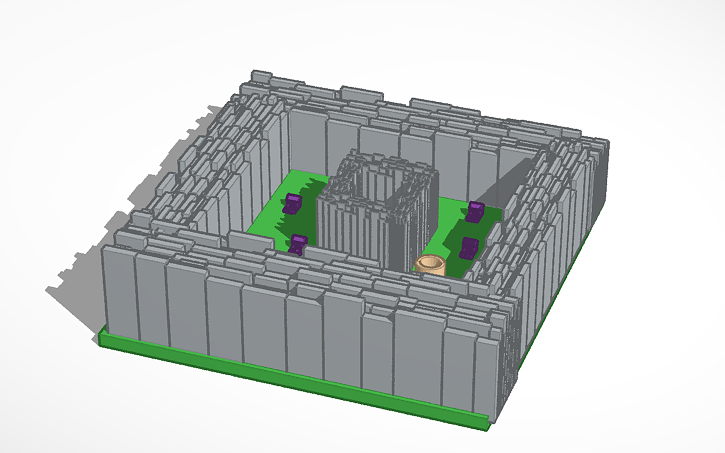
Welcome to a fast, practical guide to the Midevil Tinkercad Casle, a playful mis-spelled approach to building a castle in minutes. This article teaches you how to leverage simple Tinkercad steps to assemble a scalable fortress quickly. The core idea is to deliver an SEO-friendly resource around Midevil Tinkercad Casle that is approachable for beginners and useful for hobbyists alike.
Key Points
- Drop a simple base and use repeating modules to speed up construction.
- Grid snapping and alignment tools keep walls flush and corners sharp.
- Reuse a single towers module to create varied silhouettes with minimal effort.
- Combine extrude shapes to craft battlements, doors, and arches without overloading the file.
- Prepare a clean export for 3D printing by adding a light base and checking wall thickness.
Overview of Midevil Tinkercad Casle

The Midevil Tinkercad Casle concept centers on speed and simplicity. By arranging a handful of basic blocks, you can outline a sturdy fortress silhouette, then embellish with towers, crenellations, and a grand keep. This approach emphasizes a reusable component strategy and clean geometry so the model remains printer-friendly and easy to modify.
Quick Build Process

Start with a rectangular base, snap walls to the grid, and clone repeating modules to form curtain walls. Use the duplicate and align features in Tinkercad to ensure consistent spacing. Drilling down, add towers at corners by placing a cylinder module, then use a simple extrusion to create battlements on top. This is the core idea behind Midevil Tinkercad Casle: assemble fast, then refine.
Tips for clean geometry
Tip: Keep each component’s height uniform to prevent printing issues. Group related parts so the castle stays intact when moved or scaled.
Details and Finishing
After the basic footprint is set, layer details like arches, doors, and flags. A modest set of textures can be simulated with alternating colors or by using recessed shapes for deeper features, all while preserving a light file size for quick export.
How do I get started with a Midevil Tinkercad Casle if I’m new to 3D design?
+Begin with a flat base, set your grid to a manageable unit (like 1 mm), and create a single wall block. Duplicate it around the base to form a ring, then add corner towers and a keep. Keep the geometry simple and test print a small section to confirm fit.
Can I customize the Midevil Tinkercad Casle with different tower styles?
+Yes. Start with a basic tower module (cylinder or rectangular prism) and clone it along the corners. You can vary height slightly, add crenellations, or cap turrets with cone shapes to create a varied silhouette while keeping the underlying connectors identical for easier assembly.
Is the Midevil Tinkercad Casle approach suitable for 3D printing?
+Absolutely. The method emphasizes simple, planar geometry, conservative wall thickness, and minimal overhangs. Export to STL/OBJ, check print orientation, and consider bolstering the base for stability during printing.
What are common mistakes to avoid with Midevil Tinkercad Casle?
+Avoid overly complex curves that bloat the file size, skip double-checking wall thickness, and neglect to align components properly. Regularly group pieces you plan to move together and test-fit parts using the preview window before exporting.